In your browser, open another instance of the browser or another tab. Copy the url to Nexus Dashboard:
At the ND login screen, login using your username and password:


While we wait for the cluster to come active, in the meantime let's setup the Cluster Static Route to your pod. This is an important step since this will allow the cluster to reach the switches to provide management support.
In order for us to add the Static Route to the cluster, we need to go to the Admin Console of the cluster.

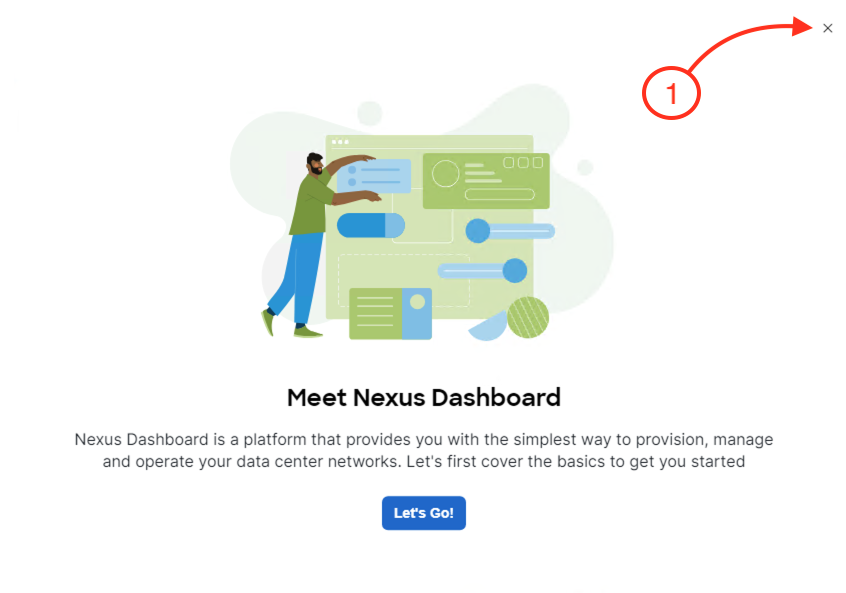
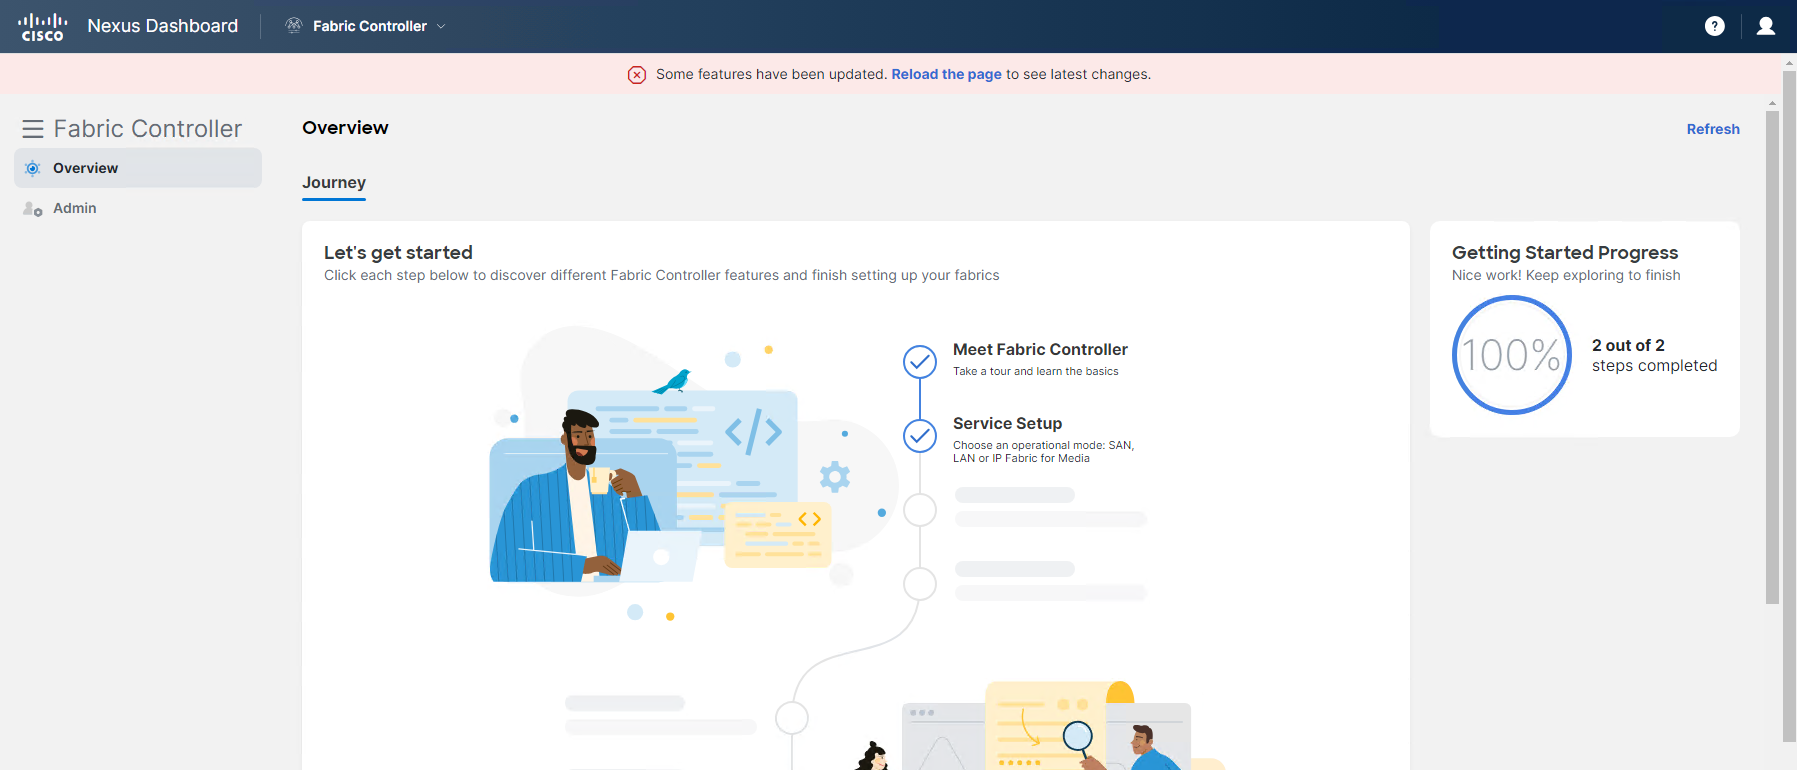
Once you have closed the welcoming screen, you should see the following screen.
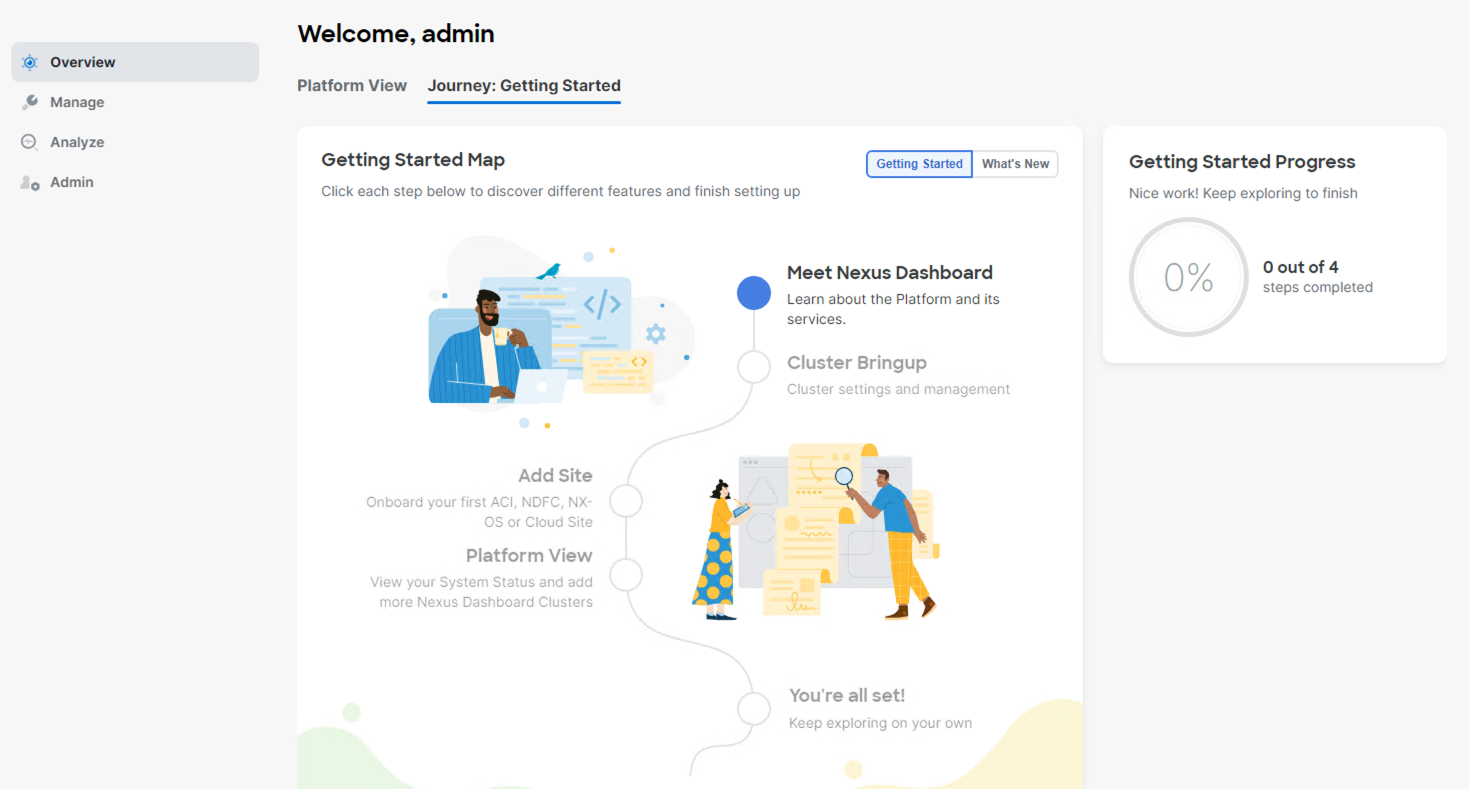
Let's navigate to the System Settings to add the Route to the Cluster.
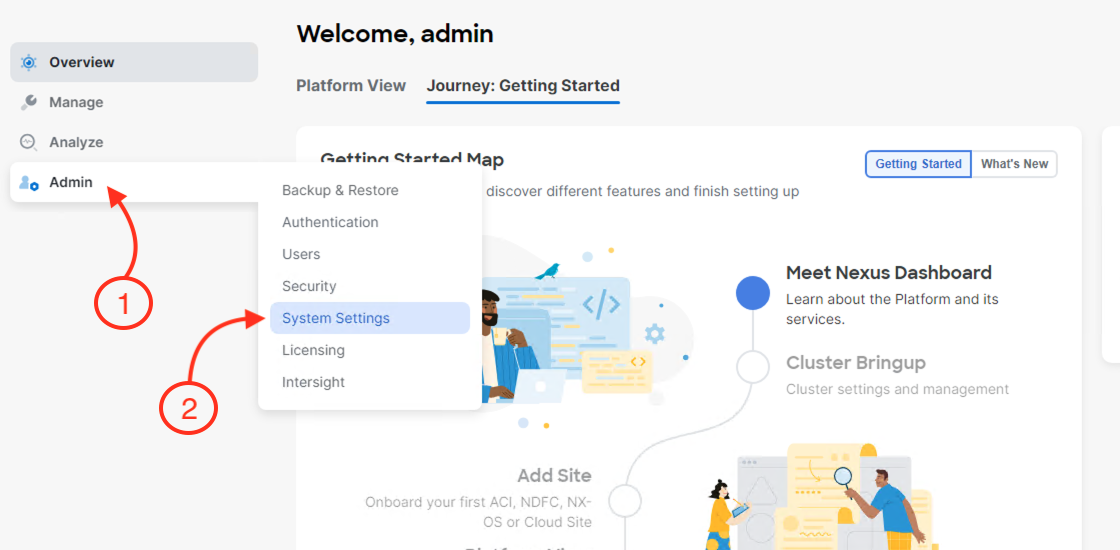
Once you are in the System Settings scroll down to the Routes section.
During this step, you will be adding your pod defined Route
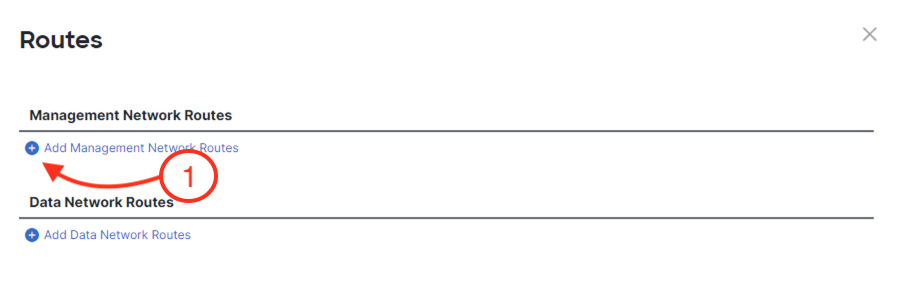
Add the route to the Management Network Routes
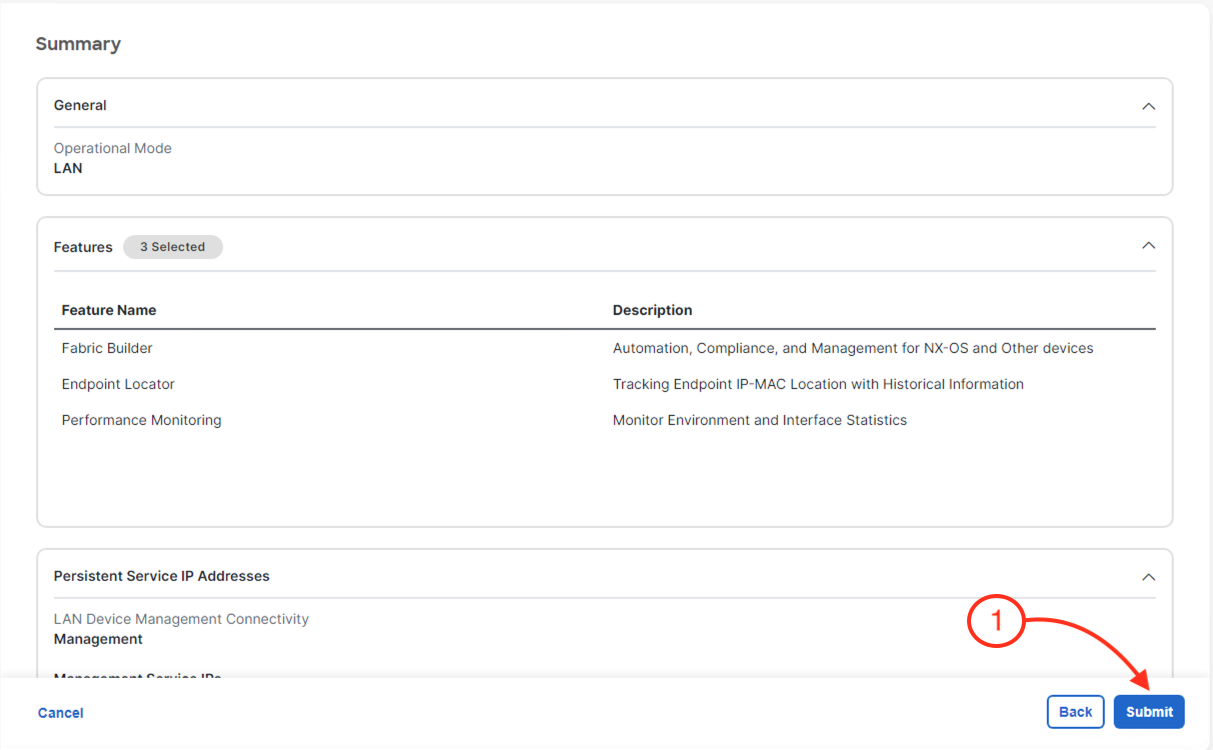
After you have added the Subnet to your cluster. Please return to the Fabric Controller Application

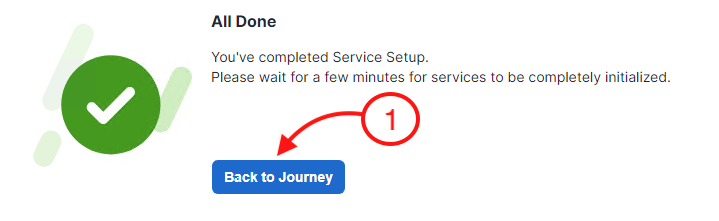
Required resources will be started on this Nexus Dashboard and it will take 5-8 minutes to complete. Once NDFC is fully enabled, you will see the status change from Starting to the page at the top stating to Reload the page. The External IPs referenced previously in the lab are now allocated and in use. Once you see this, you will have the option to reload the page by clicking: