In this section, we introduce a new feature in the Nexus Dashboard software that enables users to connect multiple Nexus Dashboard clusters, streamlining access to all clusters and their associated fabrics.
When a second cluster is added, a cluster group is formed. The original cluster becomes the primary cluster and assumes specific responsibilities:
Note that multi-cluster connectivity does not create a unified database across clusters. Each cluster retains its own configuration database while serving as a proxy for other clusters in the group, regardless of the source or destination of actions or requests.
In this step, you will configure the primary Nexus Dashboard (ND) cluster. For this lab exercise, the designated primary cluster is nd05-1.
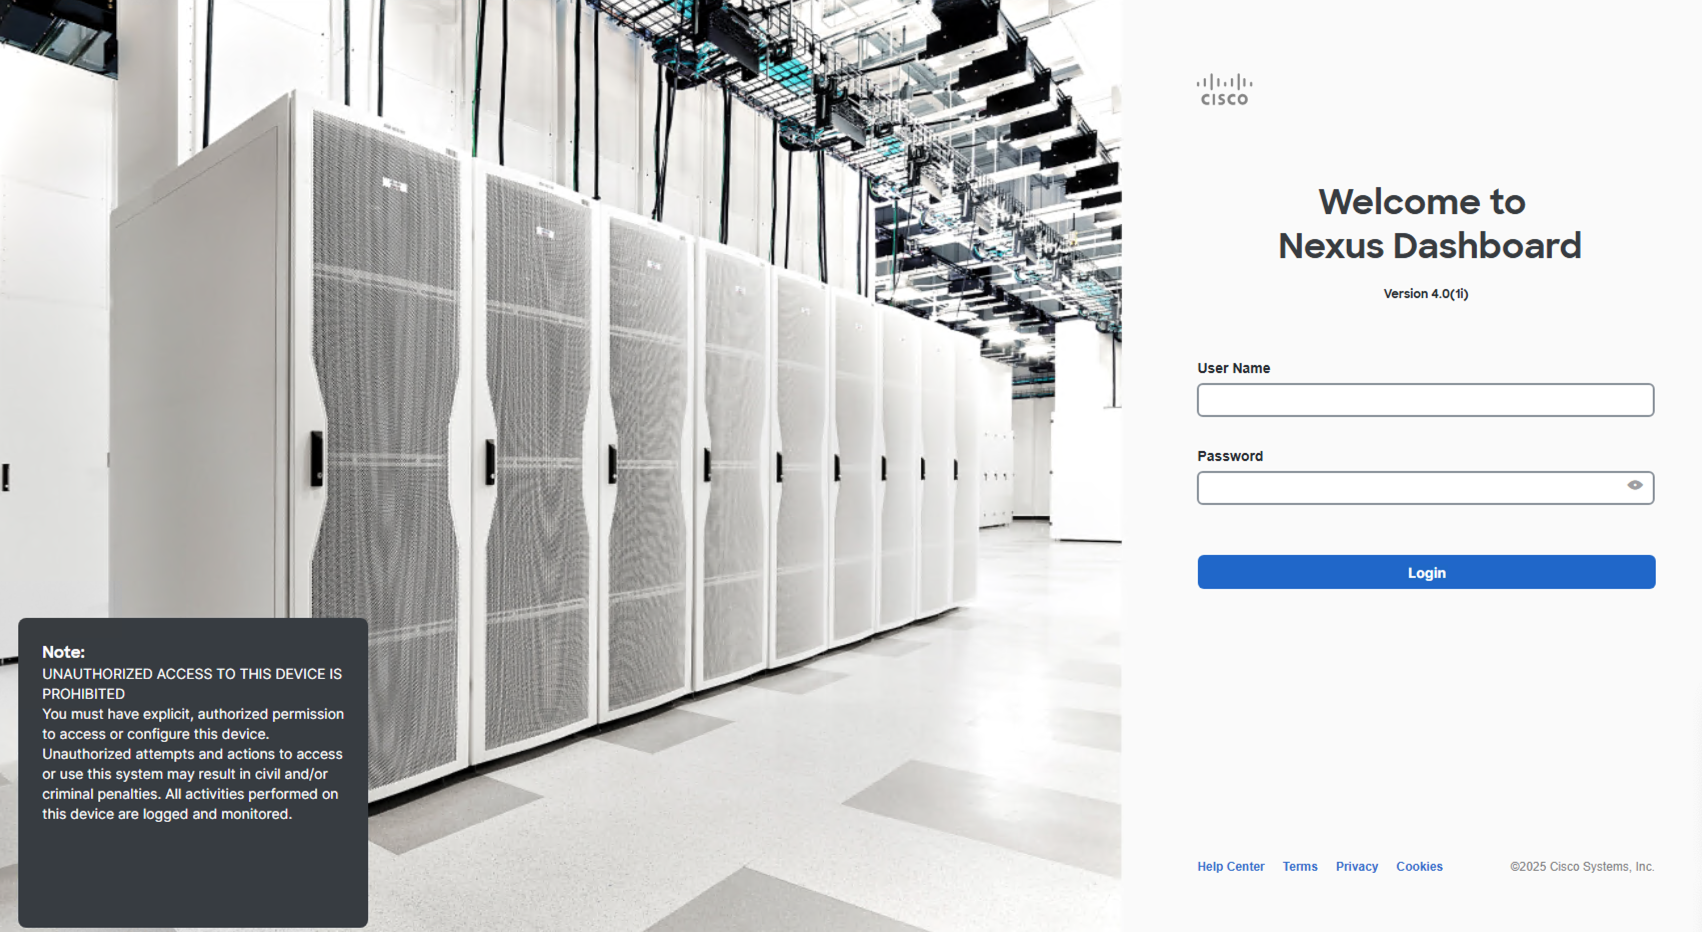
At the Nexus Dashboard login screen, authenticate using the following credentials:

In this step, you will add the second Nexus Dashboard cluster, nd05-2, to the multi-cluster environment to enhance centralized management and scalability.
Note: You may need to hit the refresh button to see newly created clusters.
Proceed to the next section to begin creating the fabric for the Multi-Site environment. In this step, you will leverage the ISN fabric to establish connectivity between Site1 (Greenfield) and Site2 (Brownfield) through each site's respective border gateway leaf switch, enabling seamless communication across both fabrics.