
Upon completing the preliminary setup, the primary objective is to establish your initial fabric utilizing a unified Data Center VXLAN EVPN fabric workflow, encompassing both the underlay and overlay configurations.
The initial "Day 0" phase of fabric lifecycle management for your Greenfield fabric involves defining critical fabric settings, including:
Fabric configuration is executed through a robust, flexible, and customizable automation framework. With minimal user input, the entire fabric can be provisioned with Cisco-recommended best-practice configurations in an efficient timeframe. Notably, the sole mandatory requirement for fabric activation in Nexus Dashboard (ND) is the configuration of the BGP ASN.
The suite of parameters available within the Fabric Settings interface empowers users to customize the fabric according to their preferred underlay provisioning options, ensuring alignment with specific operational requirements.
NOTE: We will be using the default VXLAN EVPN fabric which is Data Center
In the Create Fabrics popup wizard:
Now that you have created the initial fabric, we will show you how to modify some of the default fabric parameters for your knowledge in case you need to modify them in your production environment.
This next part of the workflow for creating a fabric is where you define the parameters that make up your fabric, both the underlay and the overlay. All these configuration parameters adhere to Cisco's best practices. As such, we will leverage several defaults that are part of the Easy Fabric template for an iBGP-based VXLAN EVPN fabric.
The first section is General Parameters where you define the fabric's BGP ASN, interface connectivity and peering type, i.e. p2p, Underlay routing protocol that can be OSPF or ISIS (OSPF for this lab), route-reflector count, Anycast Gateway MAC address shared by all leaf switches, etc. Again, you will leverage various defaults already adhering to best practices, but some parameters need setting specific to this fabric:
The second section is Replication parameters where you define whether the fabric will use multicast or ingress replication for BUM (Broadcast, Unknown Unicast, and Multicast). You will use multicast for this lab. Again, you will leverage various defaults already adhering to best practices, such as having two (2) Rendezvous-Points (RPs), but will set the parameter for RP Loopback identifier to make it specific to your Site1 fabric:
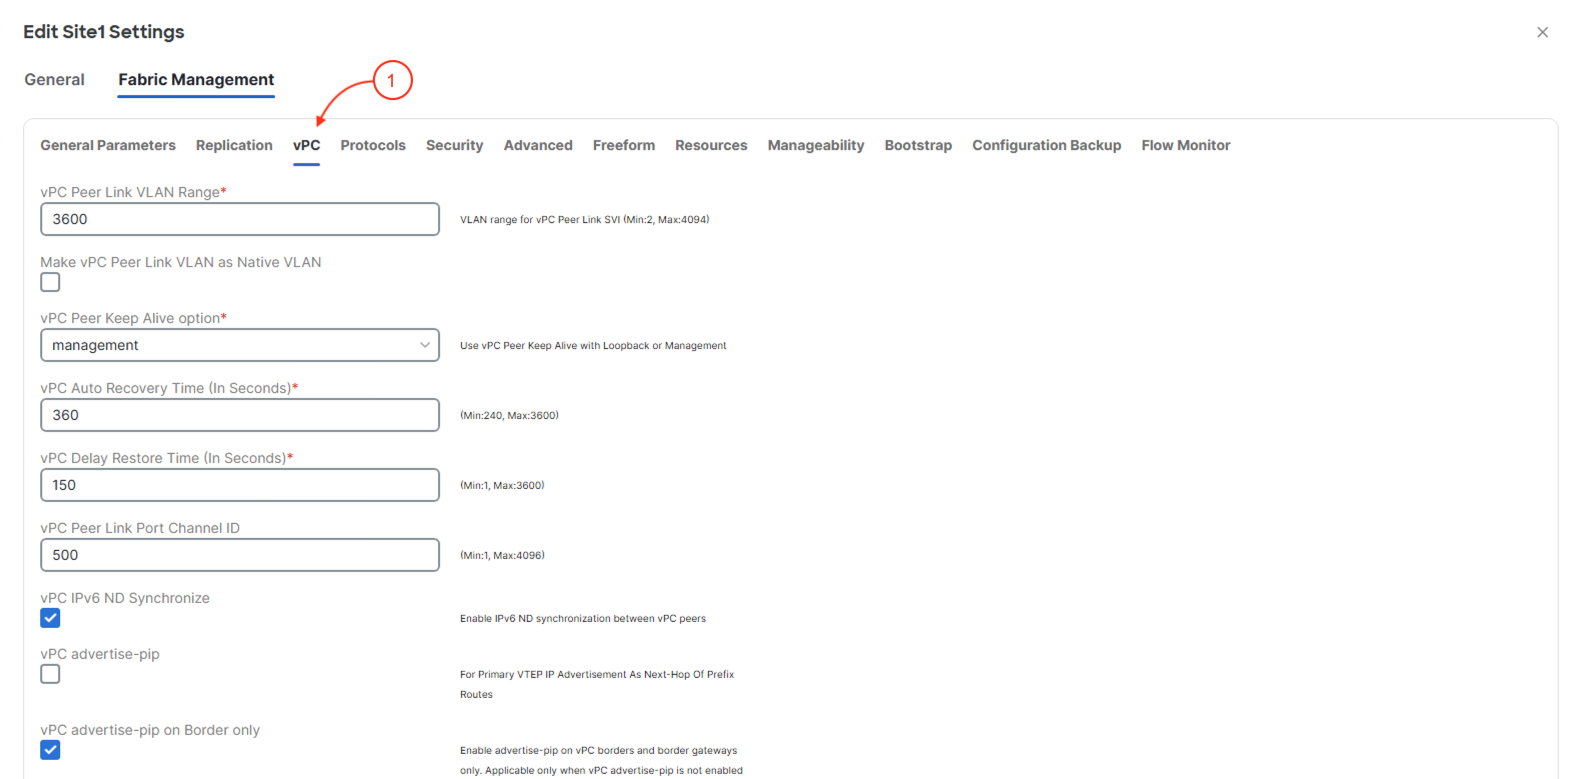
The third section is VPC parameters where you define the overall VPC domain configuration and settings. For this lab, you will leverage the defaults for VPC as it already adheres to best practices for a VPC domain:
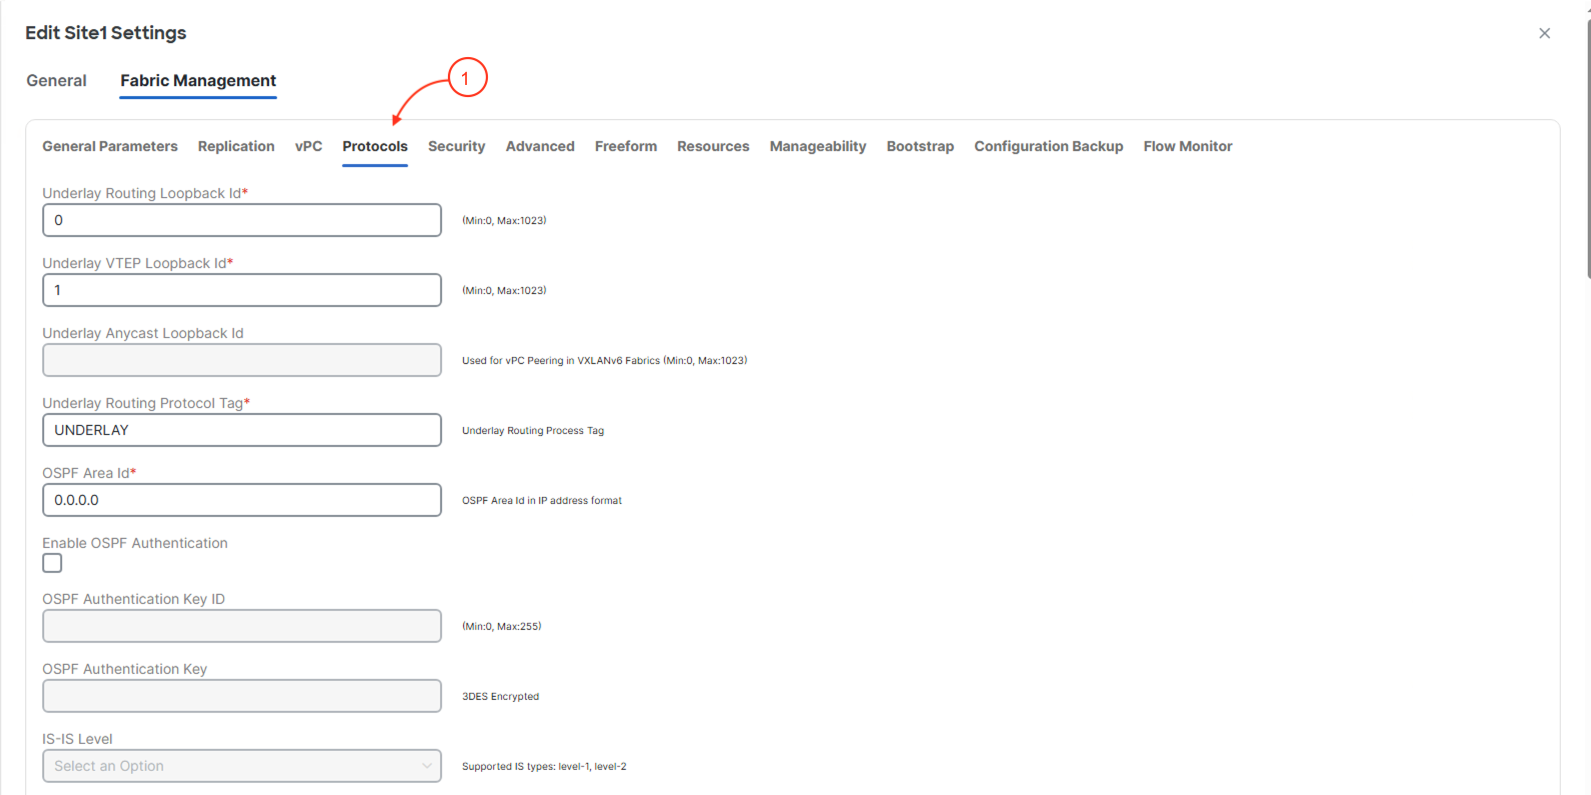
The fourth section is Protocols parameters where you define the Loopback interfaces that will be used for iBGP EVPN neighbor peering and VTEPs. Additionally, configuration parameters specific to the routing protocol selected for the underlay in General Parameters can be found here. Examples of these optional configuration settings include the routing protocol tag (the process number or name), the OSPF area number identifier, routing protocol authentication, etc. For this lab, keep the Loopback interfaces as 0 and 1 respectively as per best practice for a greenfield fabric. Also, leverage the defaults for OSPF keeping the OSPF process name as UNDERLAY and everything in area 0.
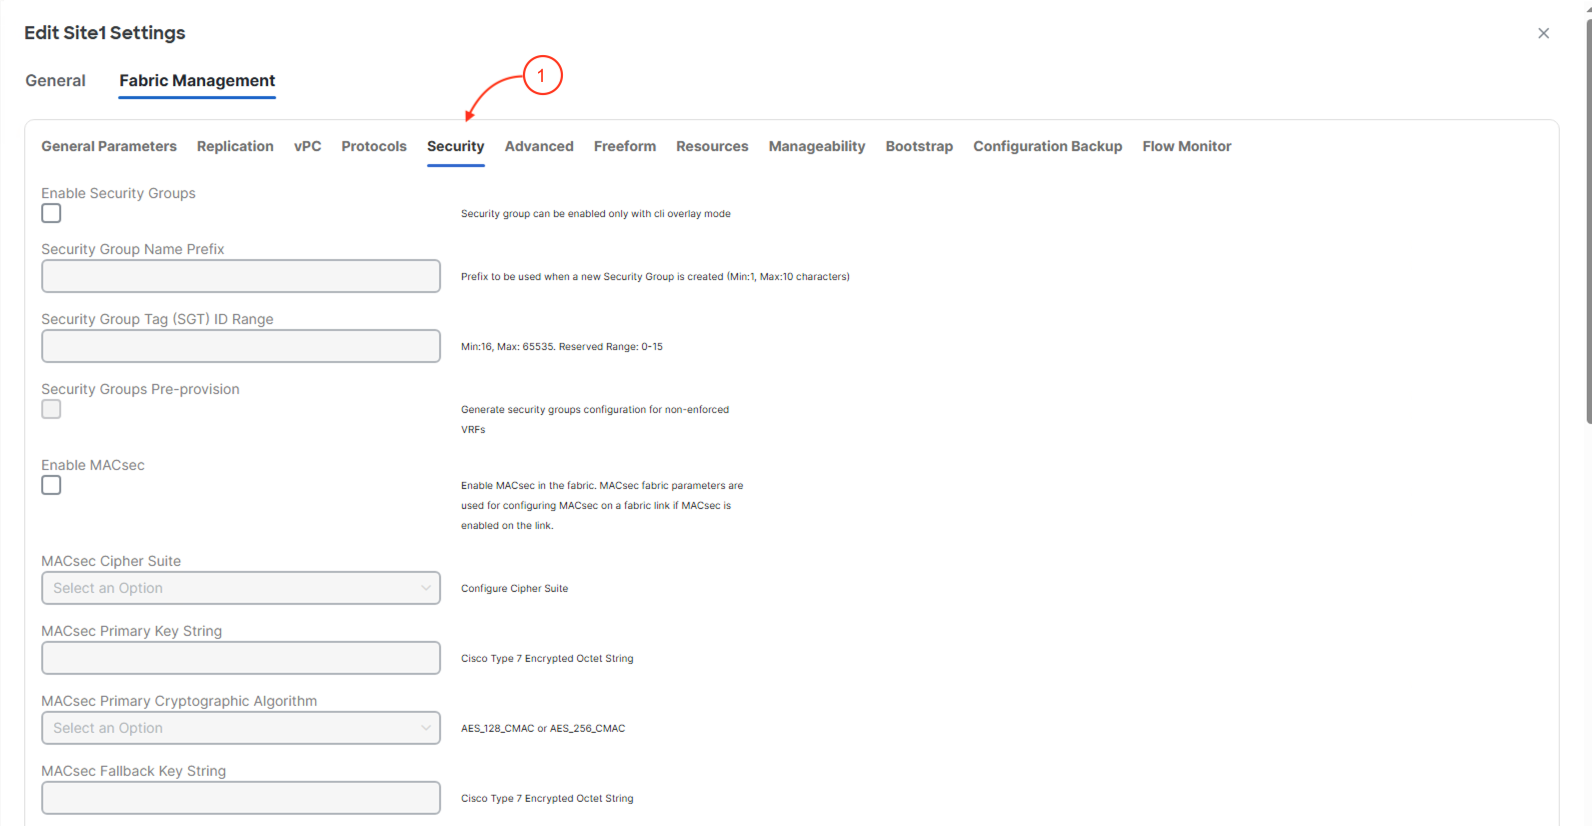
The fifth section Security allows the user to create security policies in their network by leveraging Cisco best practices. This includeds configuring Security Groups (GPO) and MACsec parameters.
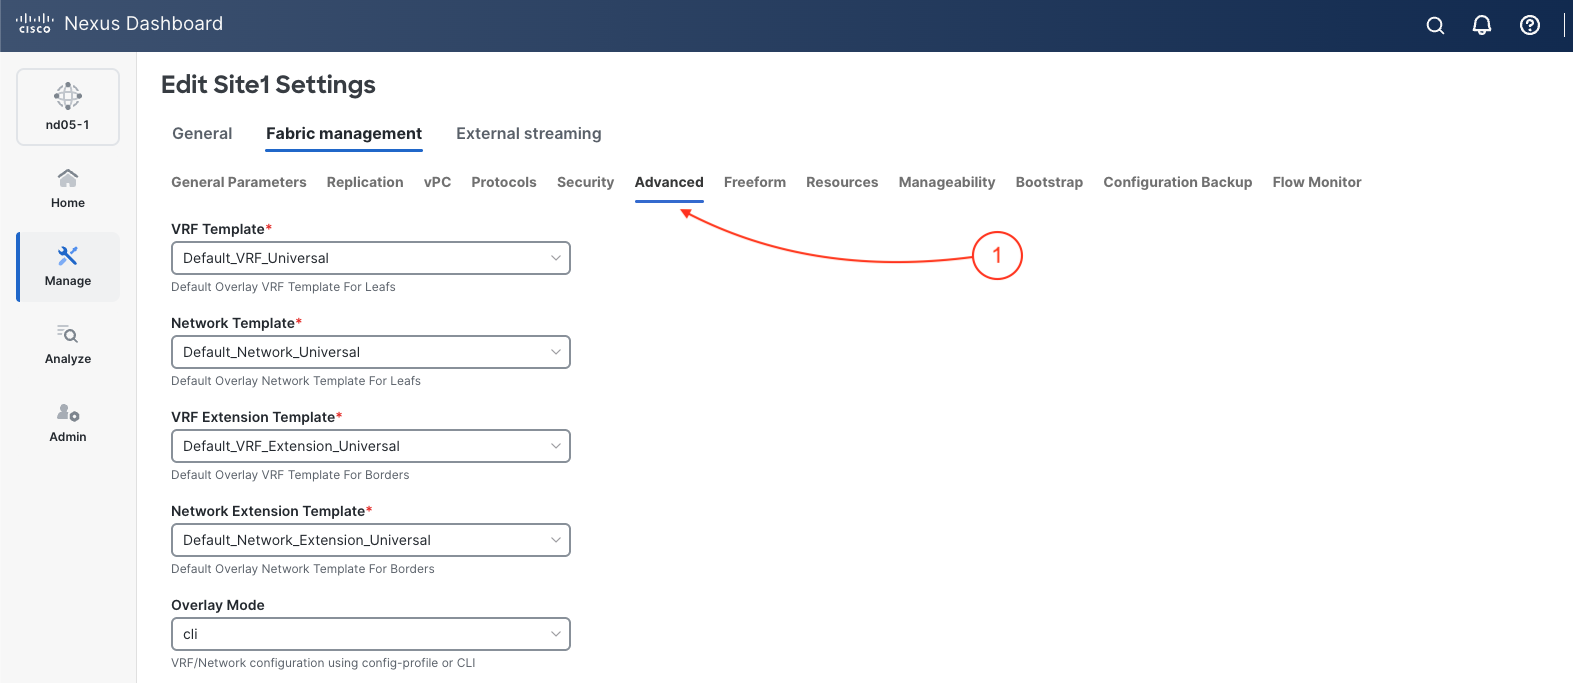
The sixth section is Advanced parameters where you define the base configuration templates to be used. The templates that are selected are done so from choosing the Data Center VXLAN EVPN template when you started creating this fabric. It is in these templates where the Cisco best practices are embedded and highly reusable across switches and fabrics.
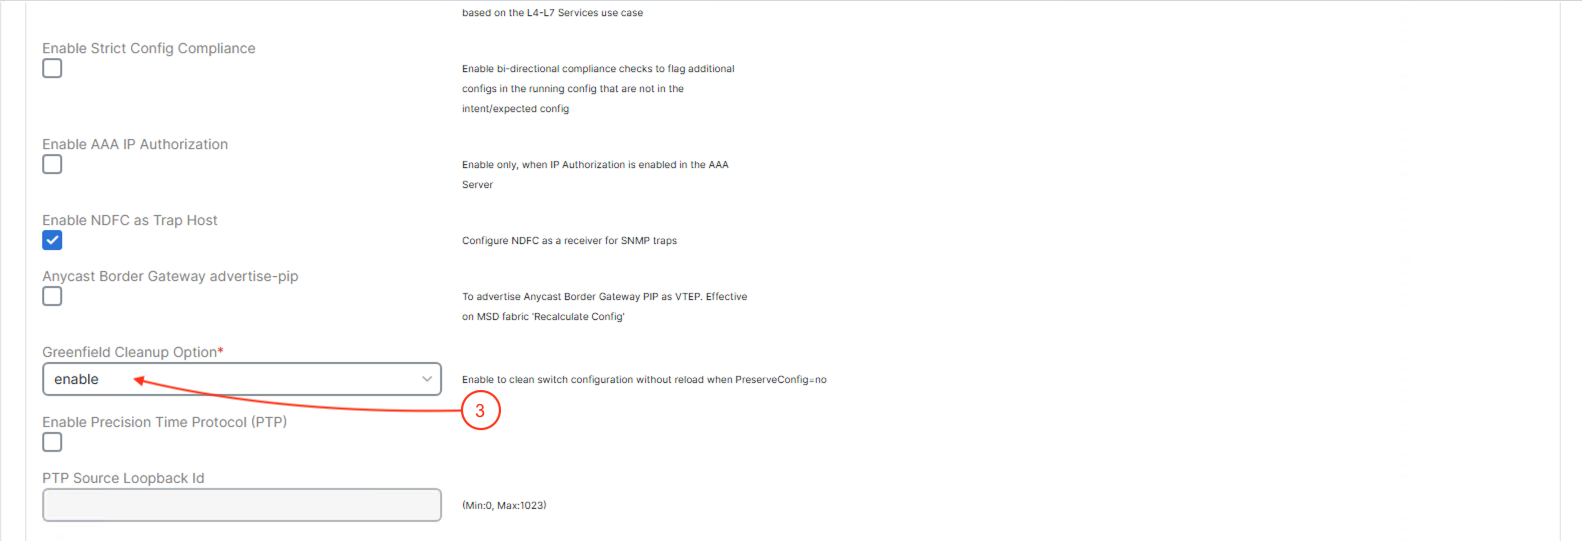
This section allows the end user to apply any type of configuration that it is not part of the original template. This section should only be used as a last resort in case ND is missing a template but with that being said, the process of creating a new template in ND is super easy as well.
The last required section is Resources parameters that defines the IP addressing pools to be used for the routing Loopbacks used for the iBGP EVPN peering, the VTEP Loopbacks, the Spine RP Loopbacks, and the physical interfaces used for the entire underlay. The latter and how those IP addresses are dynamically allocated out of the underlay subnet pool is dictated by the subnet mask selected in General Parameters previously. Use the information below to set the IP range for each:
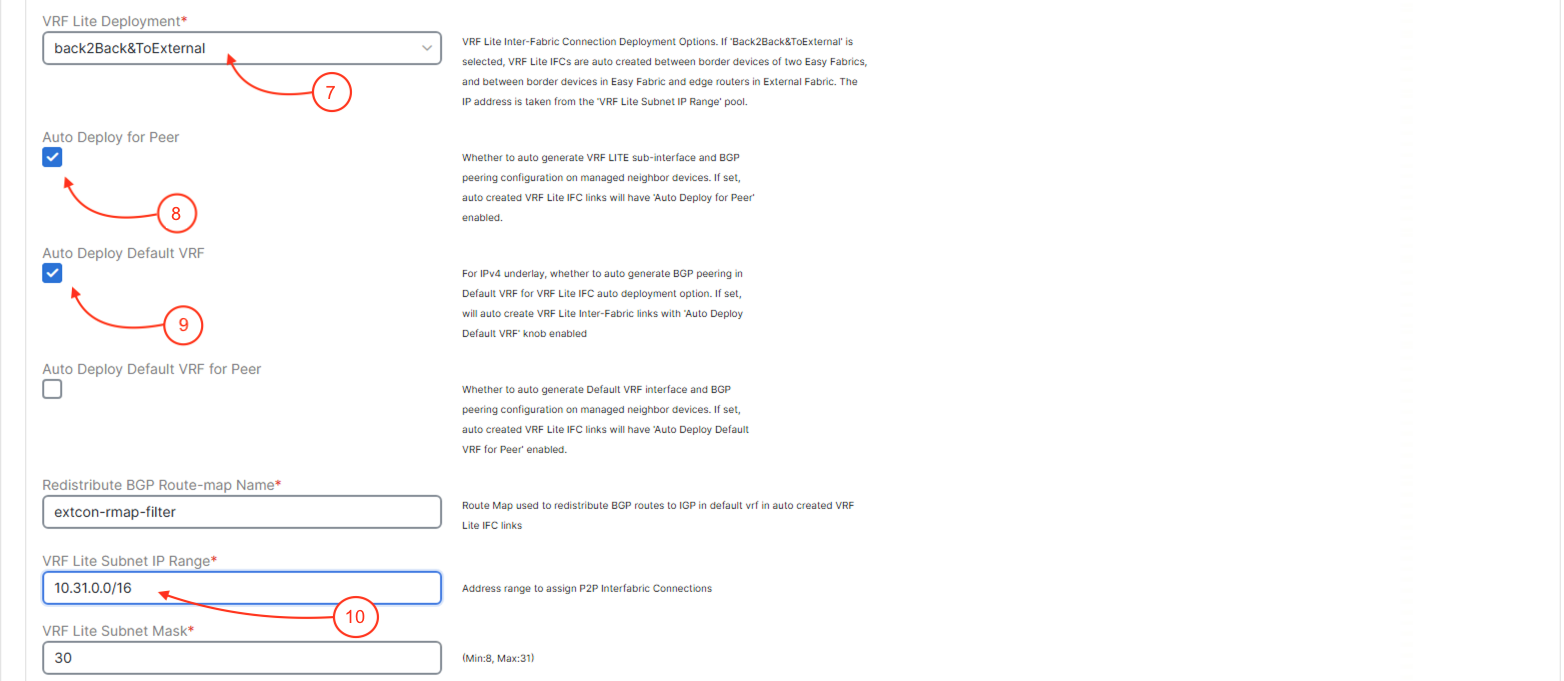
The last section to update in this lab is the Manageability parameters that defines the DNS, NTP and syslog servers and how to reach them. These configurations apply to all the switches in the fabric. Use the information below to set the IP range for each:

In this section you created your first VXLAN EVPN fabric (Site1) on Nexus Dashboard using the Data Center template. You configured the key fabric parameters that define how the underlay and overlay operate:
These settings form the foundation of your Site1 fabric. Nexus Dashboard will use them to automatically generate and push best-practice configurations to every switch you add in the next section.
For further reference, the full details and breakdown of every fabric parameter option can be found here.
Continue to the next section to discover and import your Greenfield fabric switches into your Site1 fabric.