Following the configuration of RBAC in ND, the next step is to establish the Device Credentials. This enables ND to manage and configure the devices within this lab environment.
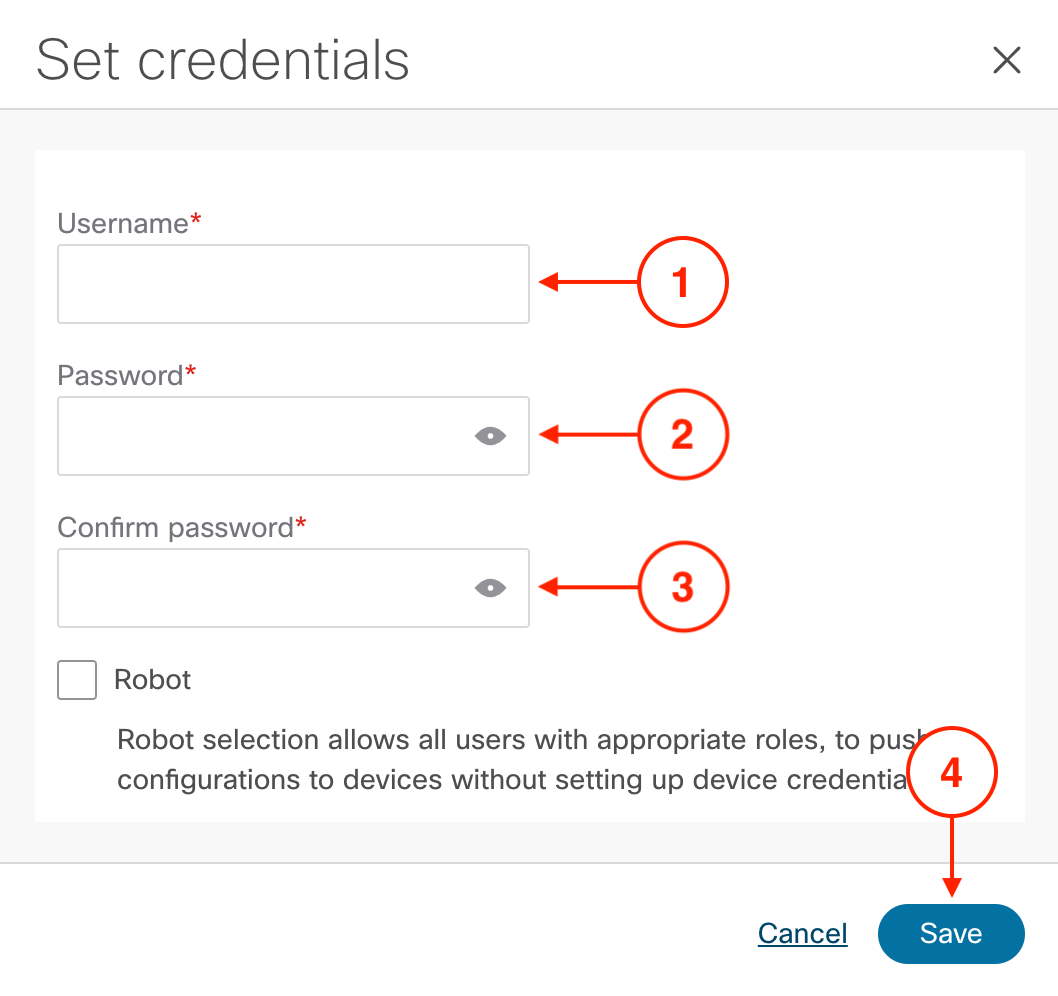
Default Credentials should be set per user which means each user will need to set Default Credentials when they first login to ND, otherwise configuration deployment to switches will fail. However, if a user would like to use a single account for all users that has the network admin role to deploy configuration to switches, the Robot option can be selected. If this option is selected, all configuration deployed from ND will show as deployed by this robot user, no matter which ND user triggers the deployment. In this lab, as we only have one user, you will use the admin user for Default Credentials without the robot option. To set it, in the Set credentials popup, input:
In the success confirmation popup, click Ok.
Confirm the Default Credentials now shows Default Set:

You set up default device credentials on Nexus Dashboard so it can communicate with all switches in your fabrics. By configuring this once in ND, every switch you discover and import will automatically use these credentials — no need to configure access on each device individually. This is the power of centralized management: one configuration, applied everywhere.
Nexus Dashboard has been successfully configured with the appropriate features enabled, and the initial setup is now complete. You may proceed to the next section to begin creating your first VXLAN EVPN fabric.
