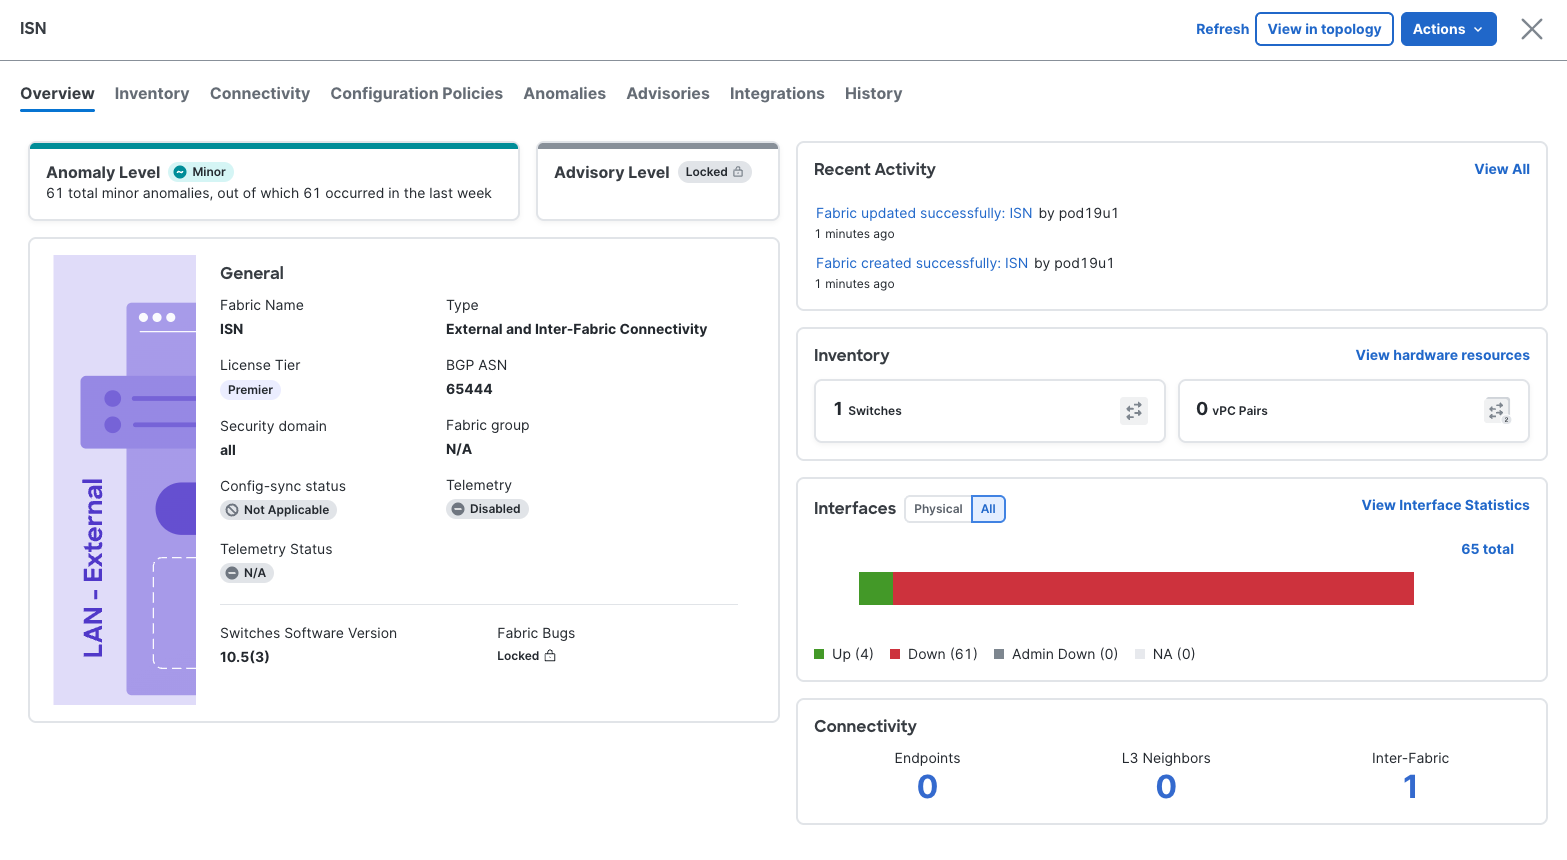
With your External Layer3 fabric created for your ISN, you can import your core router device for management by Nexus Dashboard. Because it is a Nexus 9000 series device, it can be fully managed by Nexus Dashboard.
Your Switches table is empty at the moment. To populate it with the switches in your Site1 fabric:
The Add Switches Wizard needs some information to automaticaly be able to discover and add your external device for management by Nexus Dashboard.
Only one device is expected to be discovered for your ISN fabric in this lab; a device with the hostname Core-Rtr.
The import progress will start:
The import process should be successful and the Status show Switch Added. The Progress column should show the progress bar as fully green, i.e. progress complete and successful. If you see anything different than the screenshot below, plesae notify a lab instructor.
Upon exiting the Add Switches wizard, you will be redirected back the Switches overview. Click on the just imported router Core-Rtr to see the details.

You imported the Core-Rtr into the ISN fabric using the same familiar discovery workflow. Nexus Dashboard's consistent approach across all fabric types — VXLAN, External L3, and ISN — means there's only one process to learn for onboarding any device in your network.
Continue to the next section to set the appropriate switch role for your core router in your ISN fabric.