
Create another playbook for creating another overlay following the same structure.
To execute an Ansible playbook you simply just use ansible-playbook again.
The -i is for inventory and locally, you will run the switch discovery for your staging fabric,
just as you ran the Ansible NXOS roles to configure your staging VXLAN EVPN fabric before putting your devops
workflow into a pipeline.
Return to your VSCode Terminal and ensure you are in the correct directory.
Run the switch discovery playbook to add your staging switches to your Staging fabric in NDFC. This task takes a moment. Check your NDFC instance while this runs.
We are leveraging -vvv for verbose debugging output for each task that is executed. This will highlight each steps the playbook is
executing.
During execution of the playbook, if you would like, while logged into NDFC, you can actually see the new tenant overlay VRF and associated Networks being created. Just browse to the VRFs and/or Networks tab under the MSD fabric.
Upon successful execution of this playbook, the spine and leaf roles, and the tasks and variables defined in each, will configure VXLAN EVPN VLANs, VNIs, SVIs, Tenant VRFs, etc.
    PLAY [Create Overlay] **********************************************************************************************************************************************************************************************************************

    TASK [create-overlay : Create Tenant VRF] **************************************************************************************************************************************************************************************************
    changed: [10.3.0.17]

    TASK [create-overlay : Create Networks] ****************************************************************************************************************************************************************************************************
    changed: [10.3.0.17]

    PLAY RECAP *********************************************************************************************************************************************************************************************************************************
    10.3.0.17                 : ok=2    changed=2    unreachable=0    failed=0    skipped=0    rescued=0    ignored=0
Depending on how long you have taken to take your Ansible Playbook. You may need to log again in NDFC. Follow the previous intructions on how to do it.
Since, the newly created VRF and Networks were created under the MSD fabric. It is important to go to the MSF Fabric
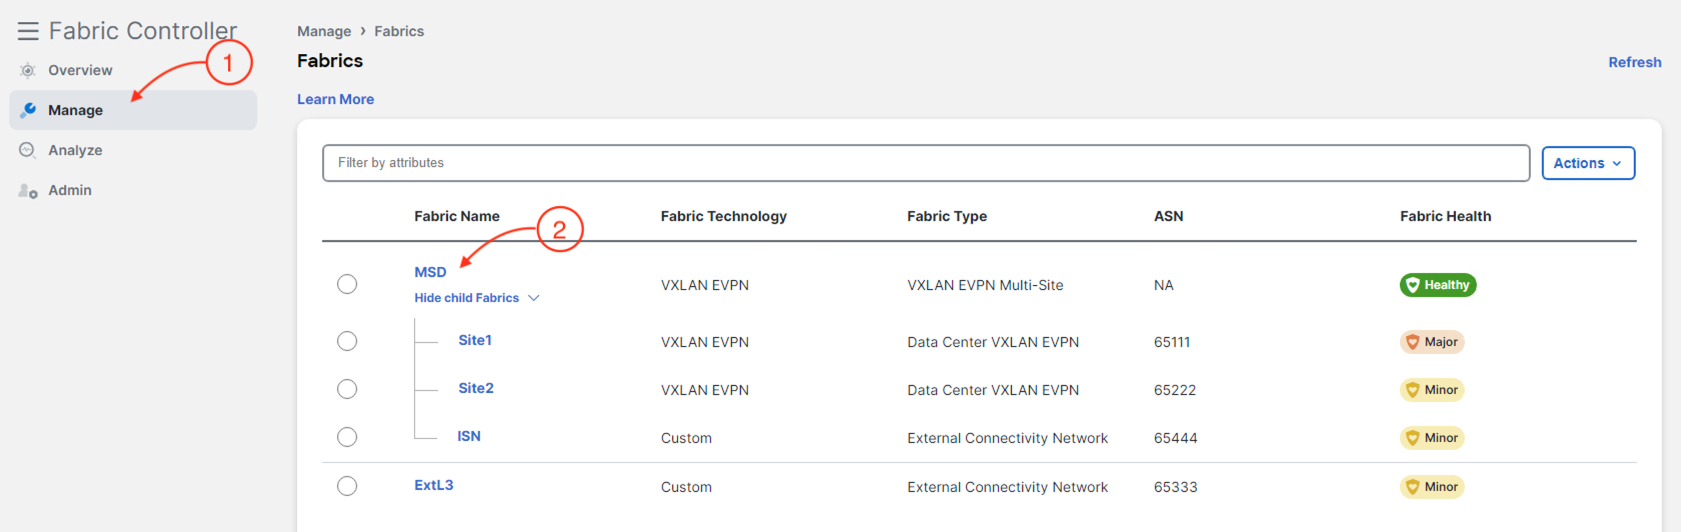
Return to NDFC. Review and confirm the AnsibleVRF created by the Ansible playbook using the NDFC Ansible Collection modules:
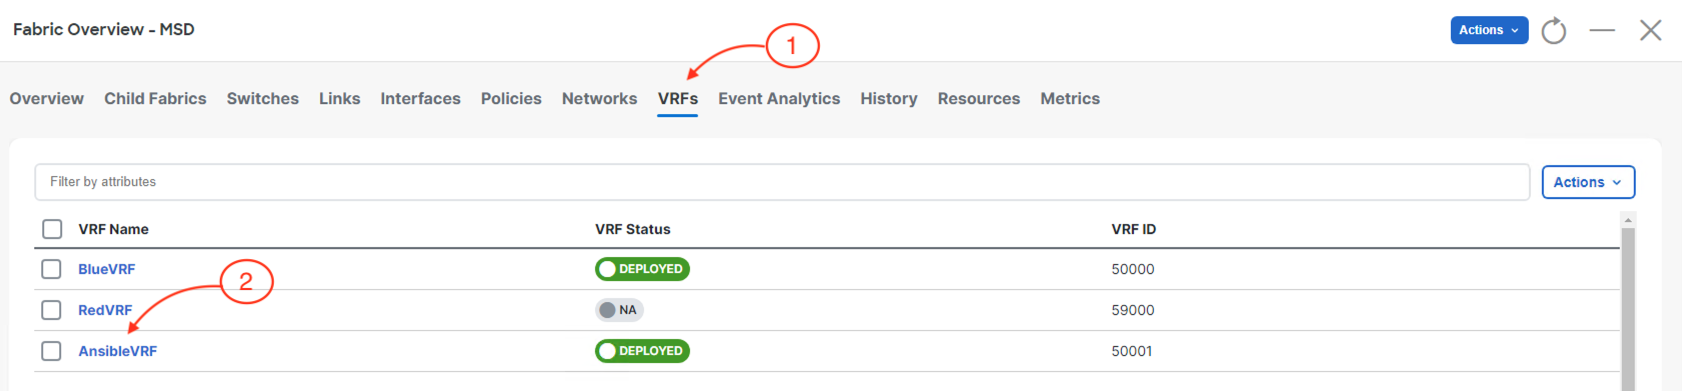
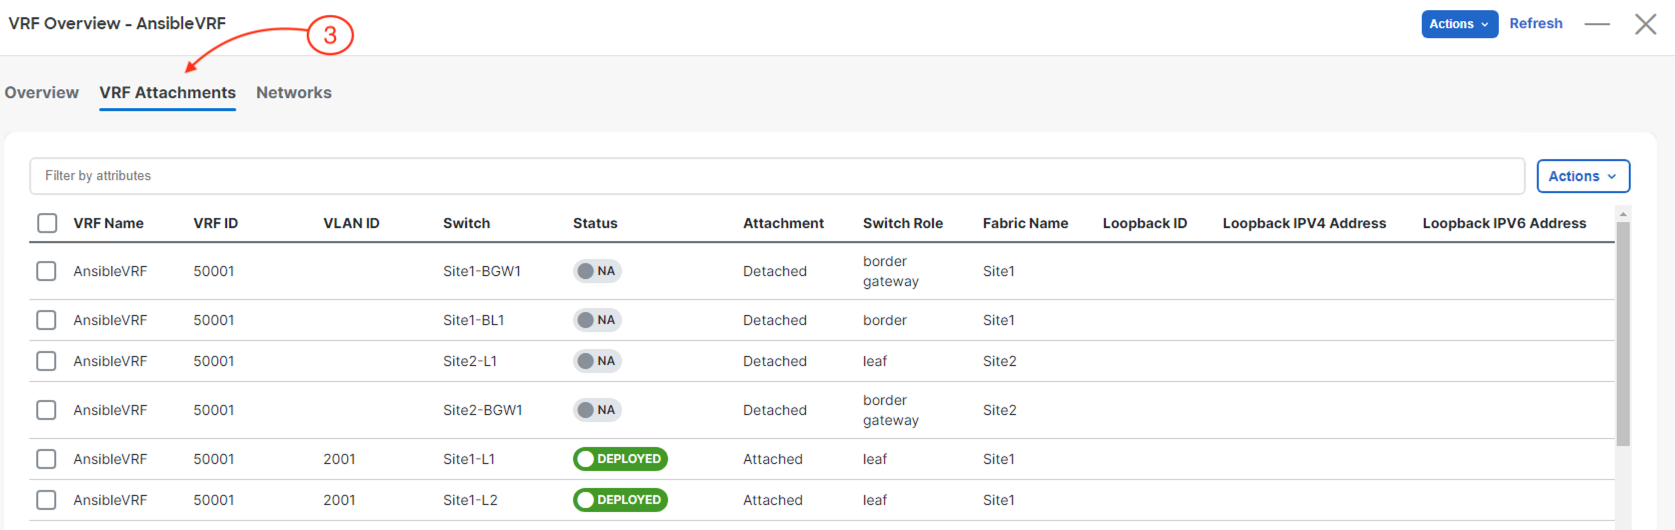
As you can see Ansible has created the new VRF.
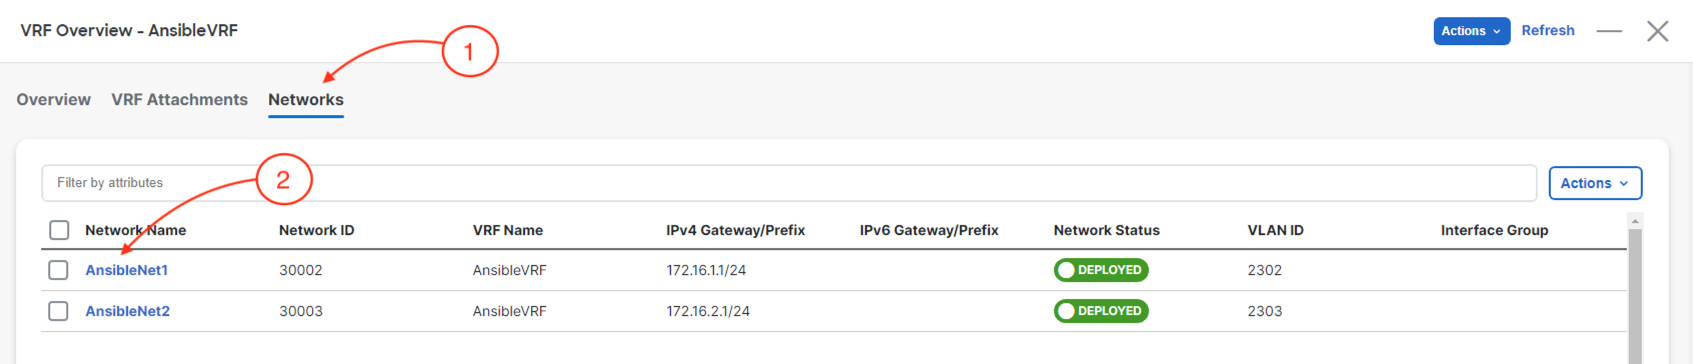
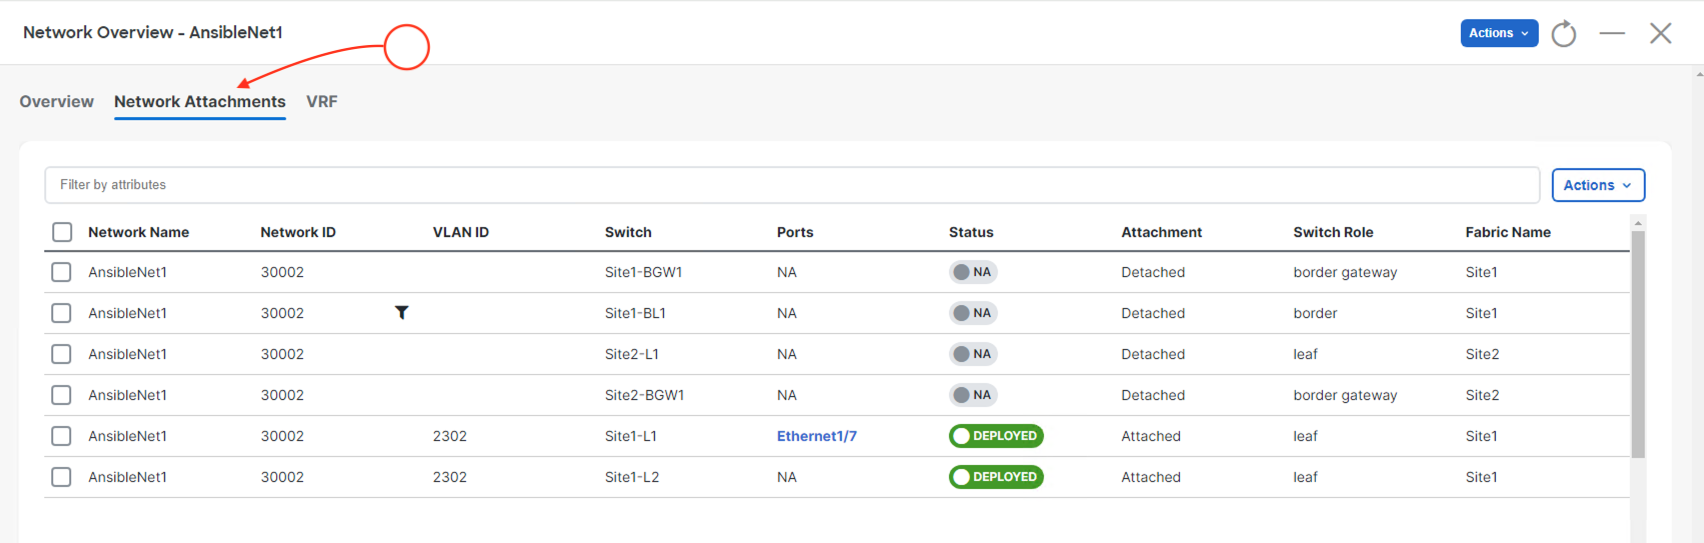
Now, that we have verified that Ansible has created teh VRF. let's the two networks that we created leveraging Ansible Playbook using the NDFC Ansible Collection modules.
With that, you have successfully completed the lab! Congratulations!
You architected and deployed multiple VXLAN EVPN fabrics through NDFC, providing external connectivity and taking things a step further by using your fabrics to build a Multi-Site environment. You verified configuration and tested
each fabric and Multi-Site Domain along the way.
After that, you put on your network automation hat and using Ansible, performed a Day2 operation of onboardinng a new tenant overlay across your Multi-Site Domain fabrics.
Thank you!